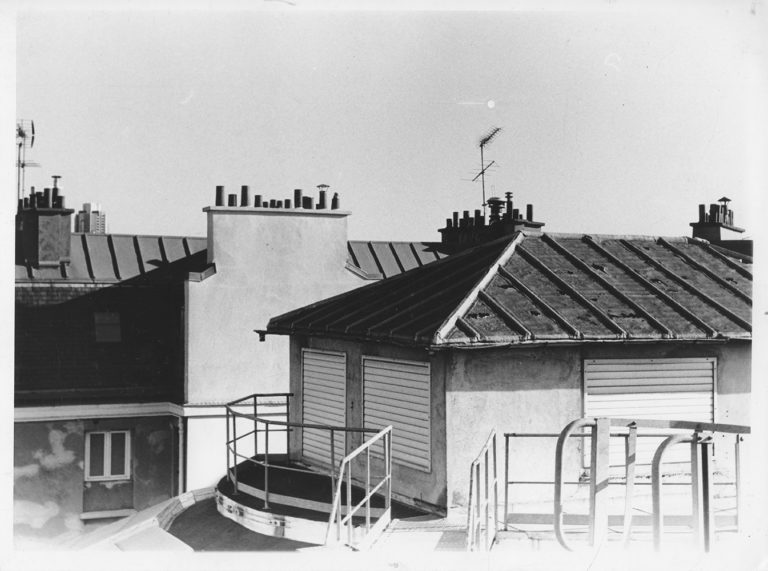
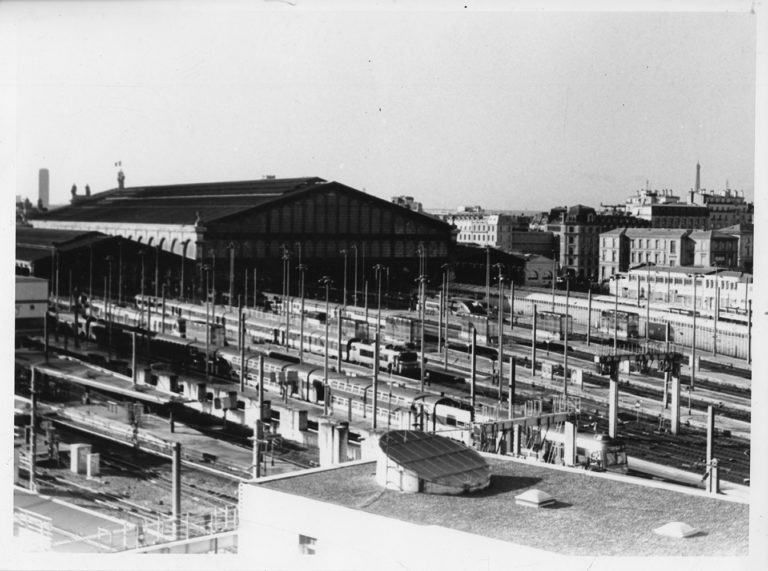
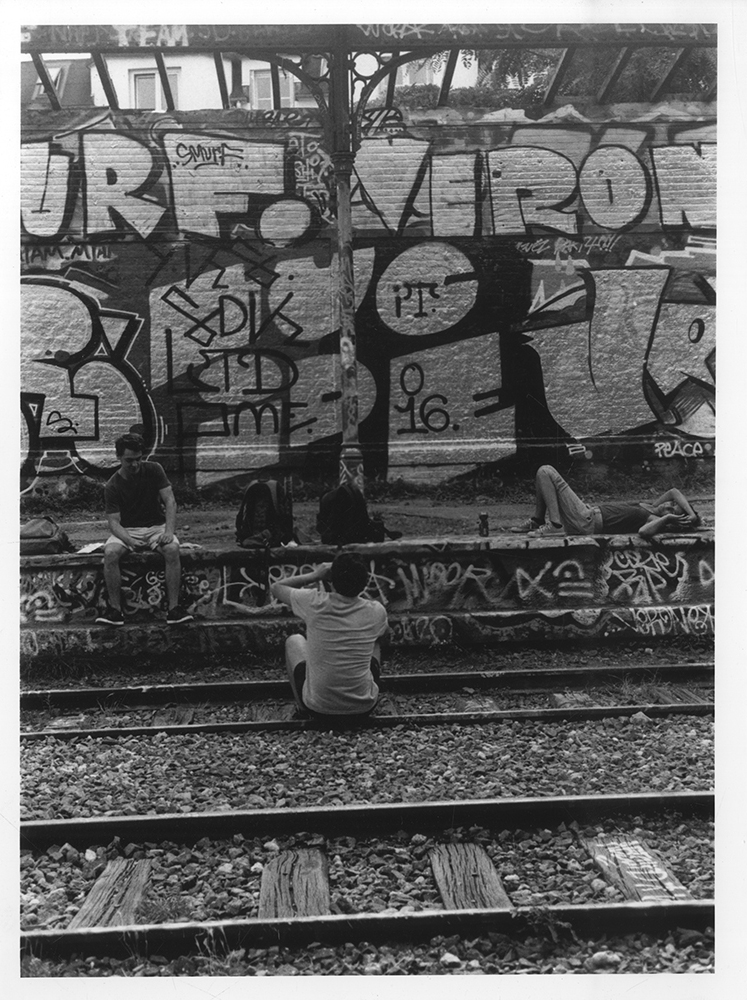
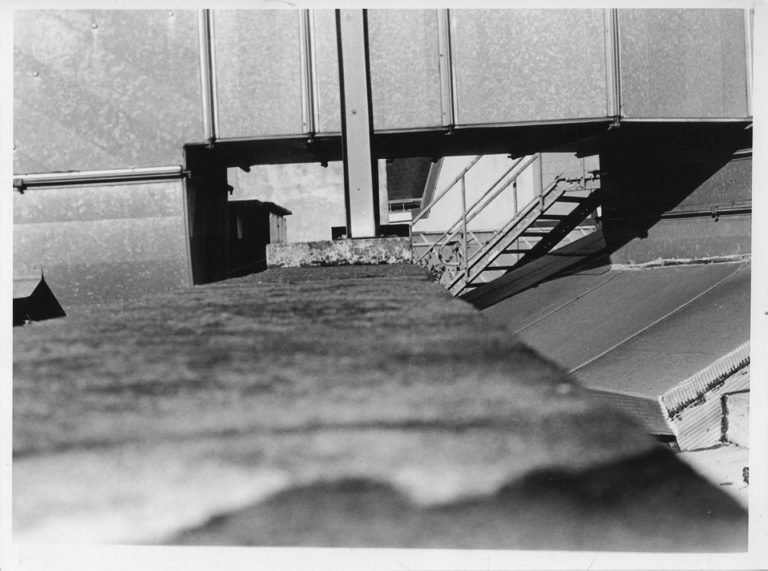
Les images de départs sont des tirages argentique qui sont alors scannés et numérisés.

Les images passent ensuite par le code suivant :
PImage source;
PImage destination;void setup() {
size(1000, 1000);
source = loadImage(« Scan 2.jpg »);
destination = createImage(source.width, source.height, RGB);
}
PImage destination;void setup() {
size(1000, 1000);
source = loadImage(« Scan 2.jpg »);
destination = createImage(source.width, source.height, RGB);
}
void draw() {
float threshold = 127;
source.loadPixels();
destination.loadPixels();
for (int x = 0; x < source.width; x++) {
for (int y = 0; y < source.height; y++ ) {
int loc = x + y*source.width;
if (brightness(source.pixels[loc]) > threshold) {
destination.pixels[loc] = color(255);
} else {
destination.pixels[loc] = color(0);
}
}
}
destination.updatePixels();
image(destination,0,0);
}
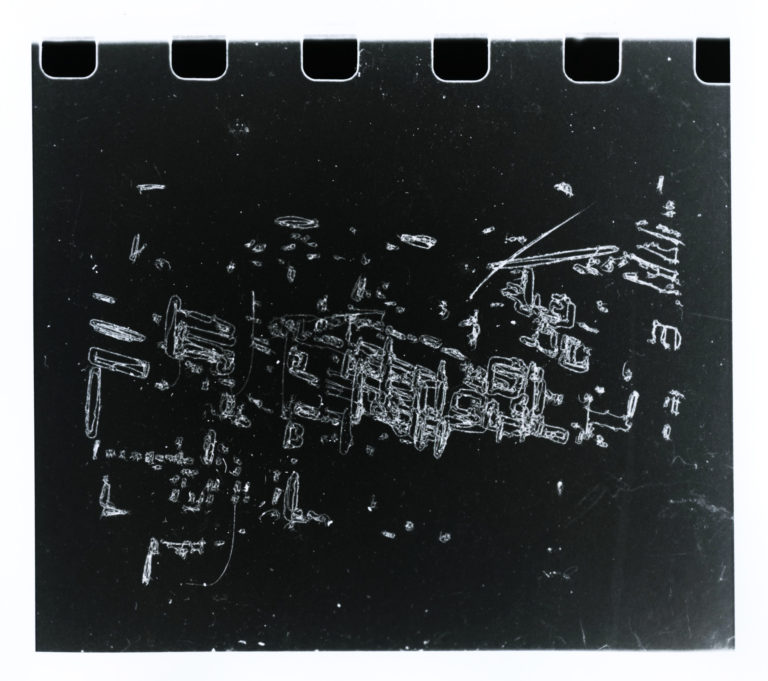
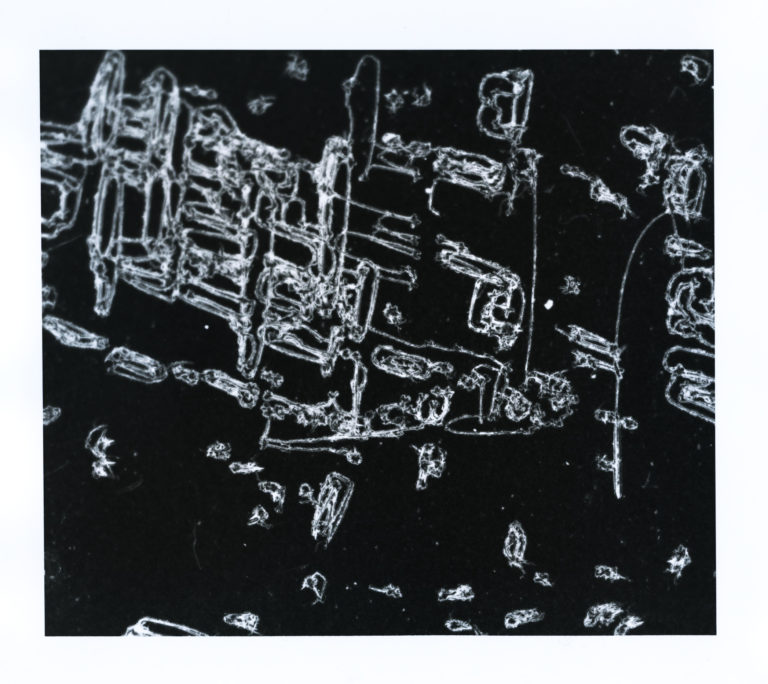
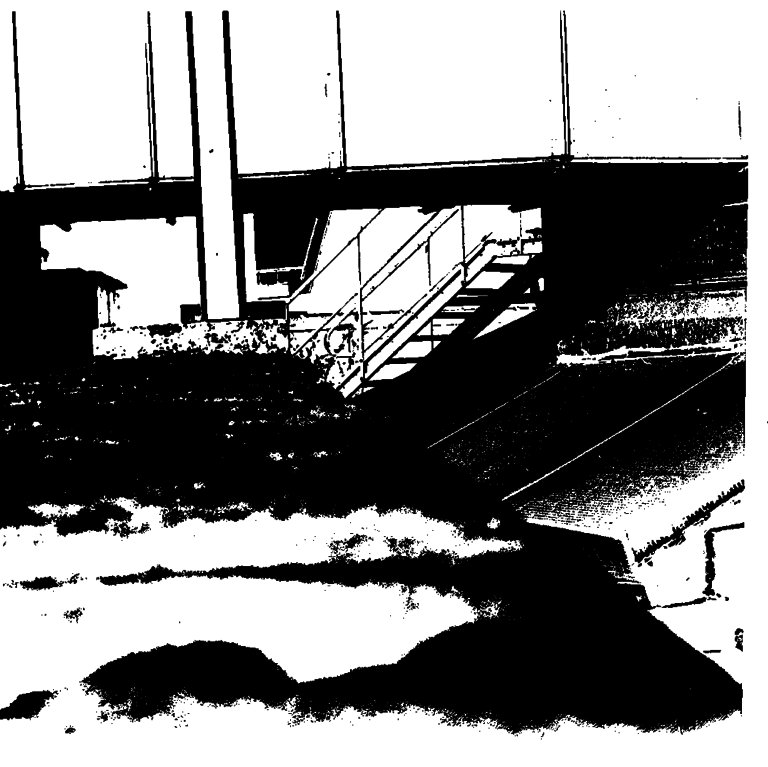
Voici donc les images résultantes :
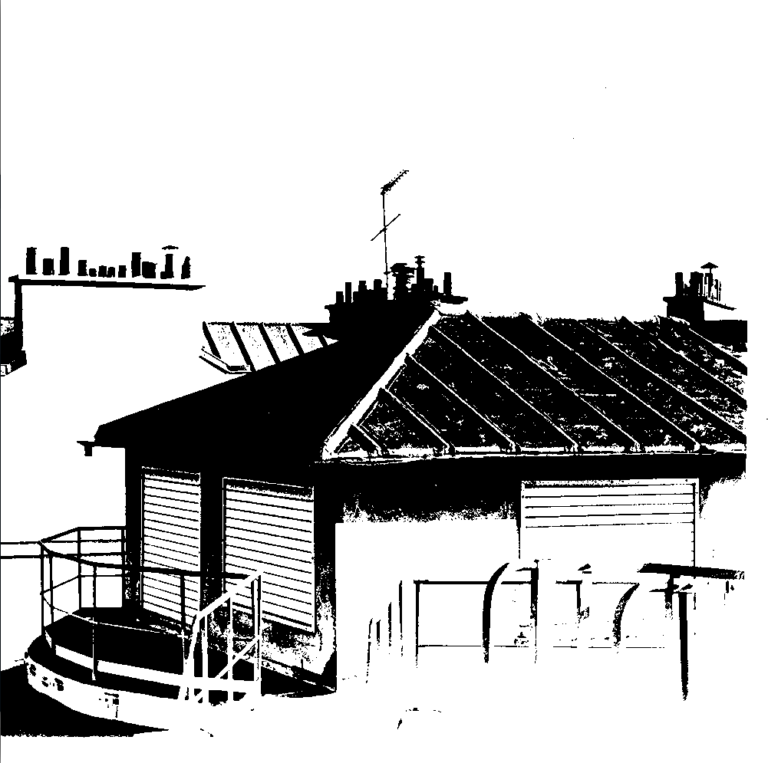
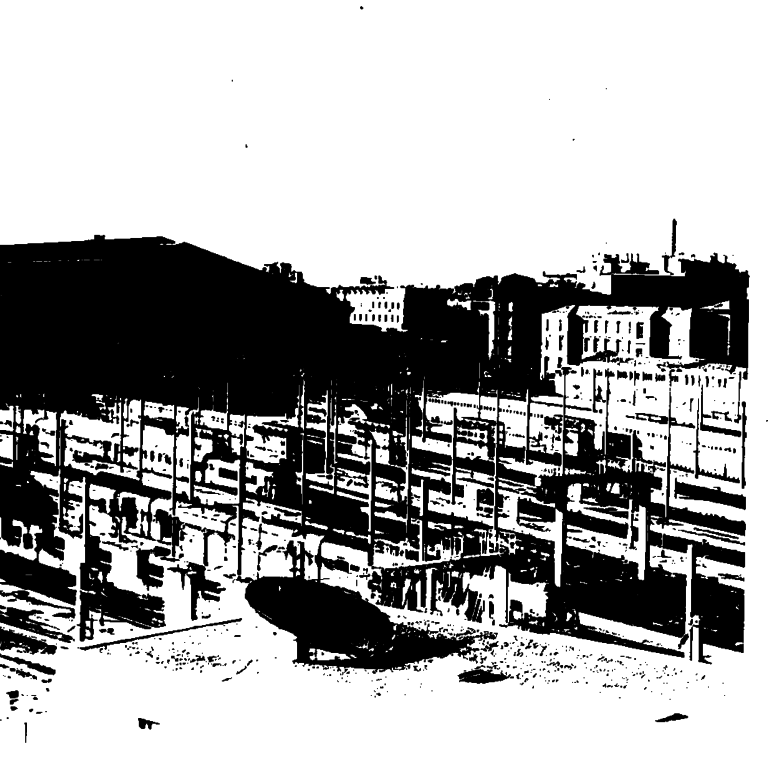
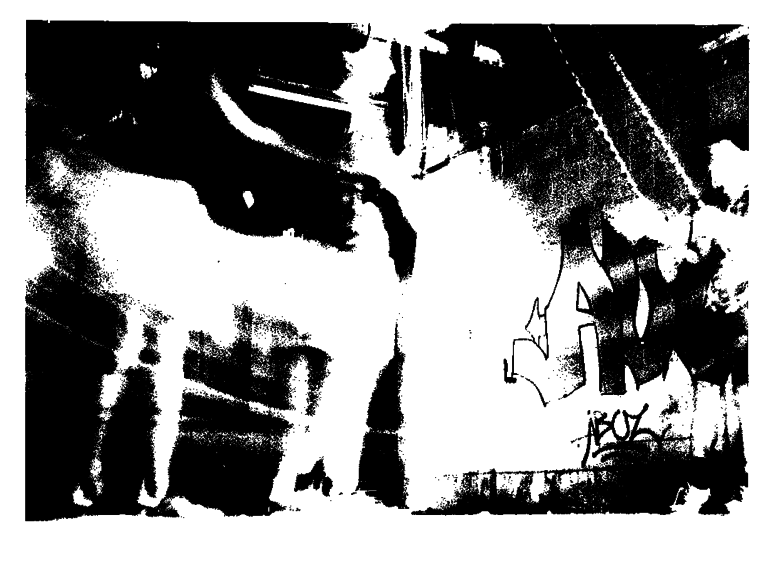
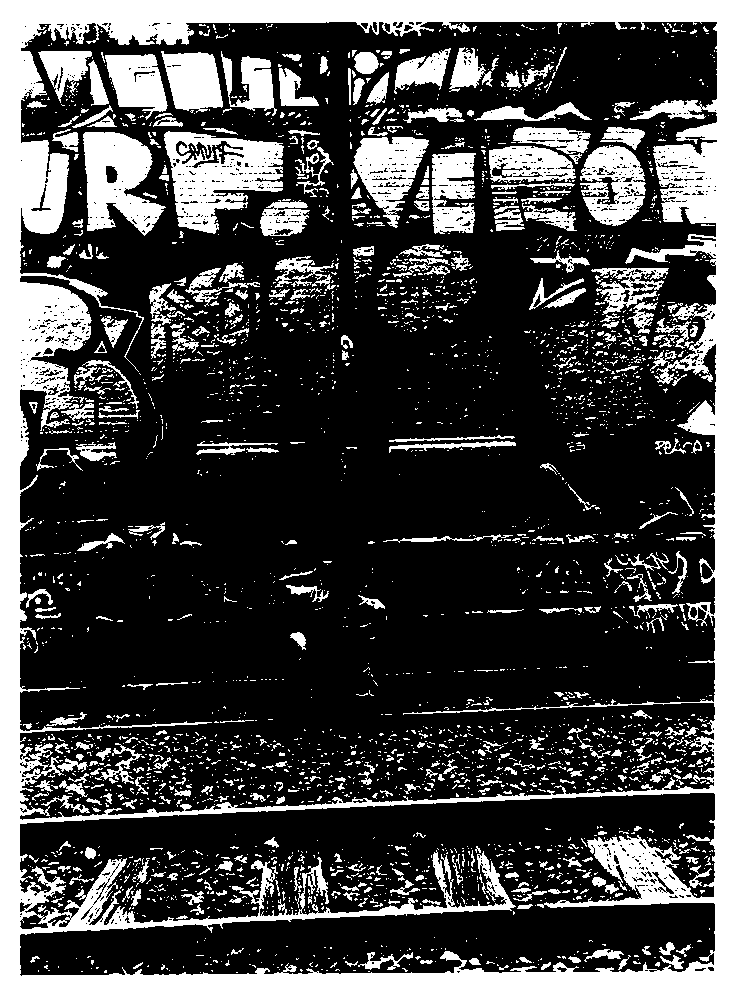
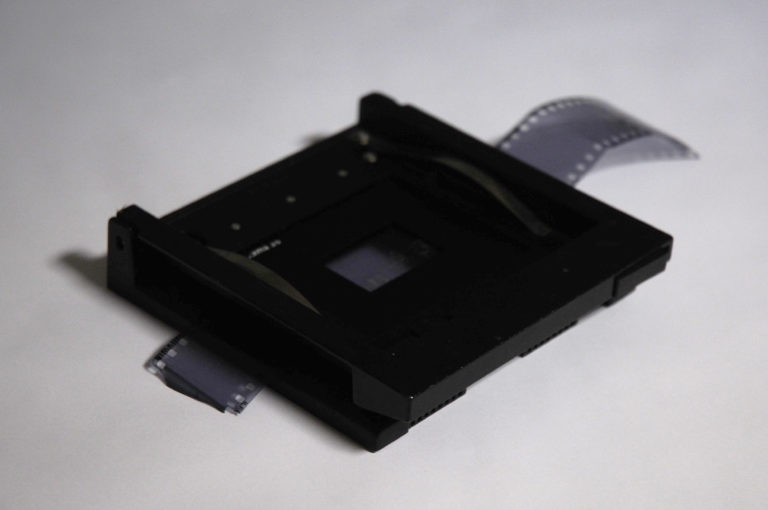
Par la suite, les images sont vectorisées sur illustrator, puis gravées sur pellicule grace au plotter.
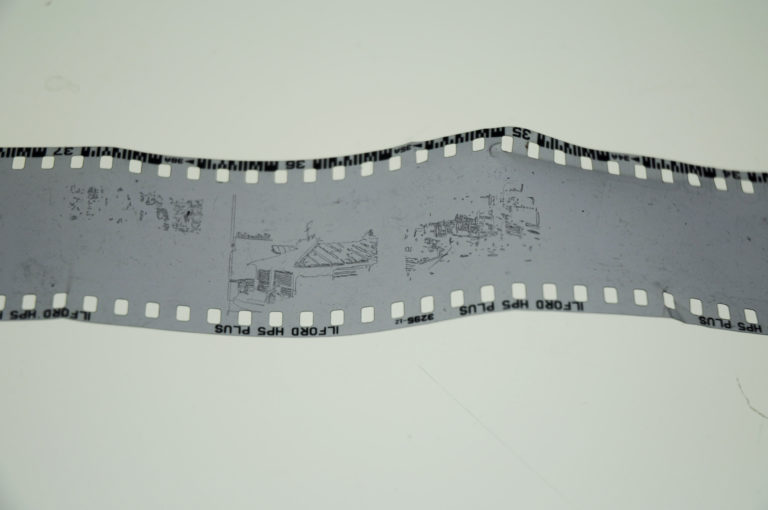
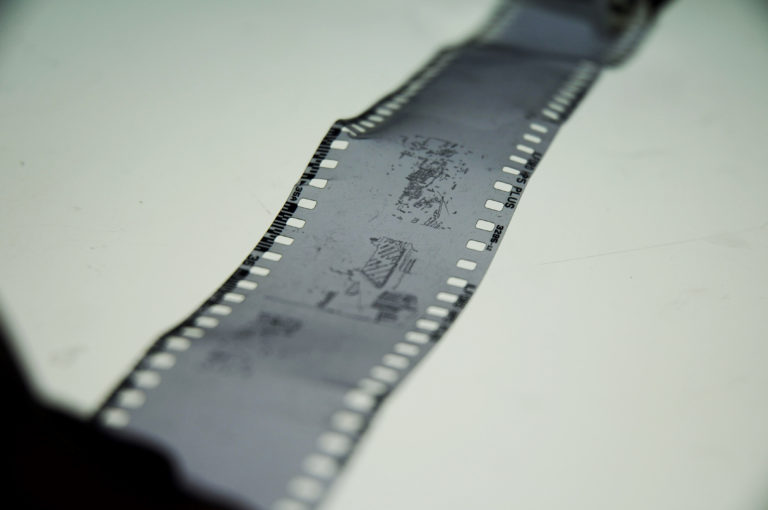
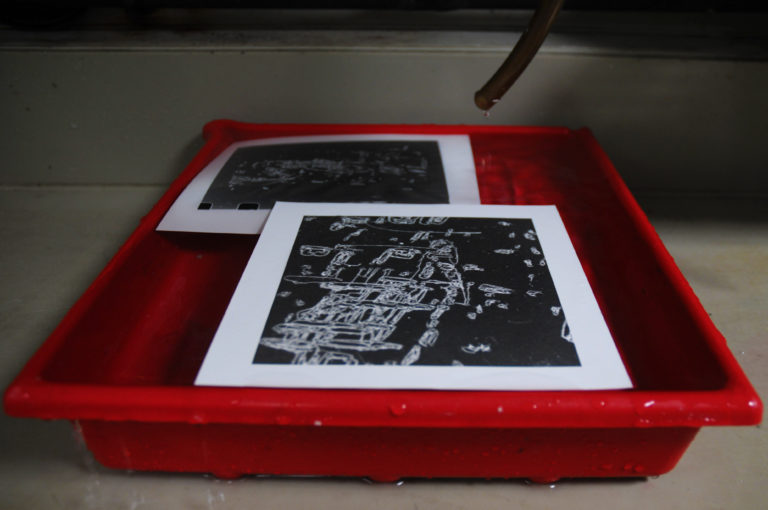
La pellicule permet alors de faire des tirages en laboratoire photo.