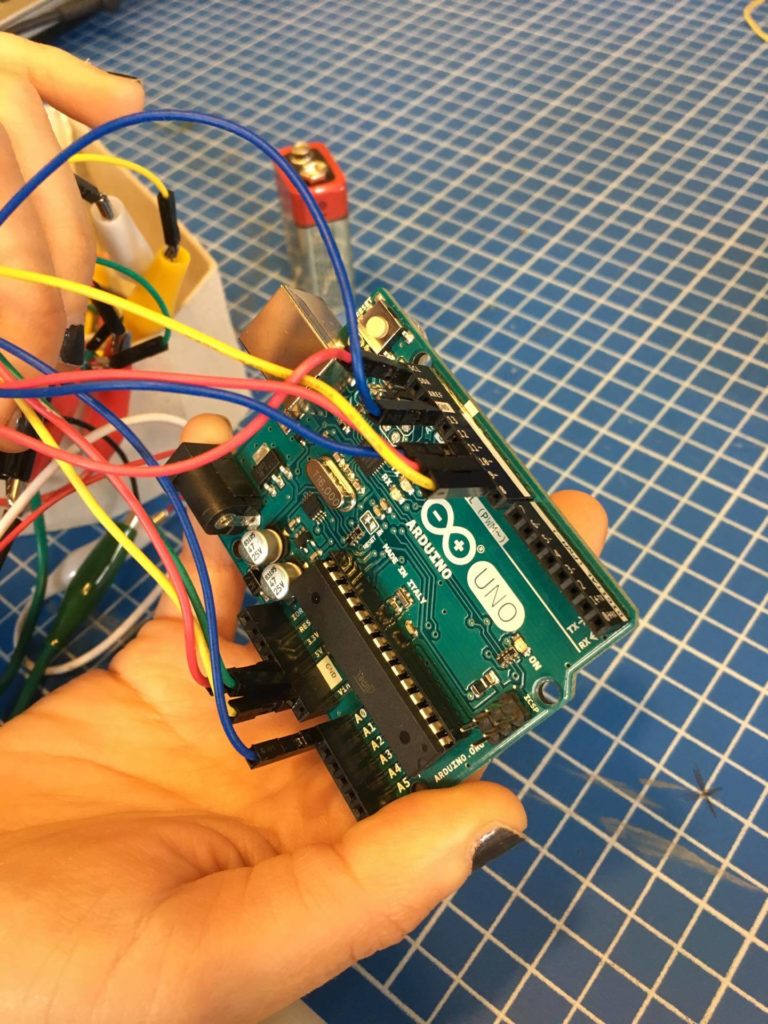
L’idée était de créer un objet qui réponde à l’action de l’utilisateur par une interaction de lumière. La forme de l’objet rappelle une poire et renferme tout le circuit électrique. L’interaction agit en basculant cette poire grâce à une LDR qui se situe sous la face centrale de la poire. Cette LDR génère 3 couleurs différentes (RGB) que nous avons intégré dans le code sur l’arduino et agit par photorésistance selon la face sur laquelle se positionne la poire.
–
Code sur Arduino:
1 2 3 4 5 6 7 8 9 10 11 12 13 14 15 16 17 18 19 20 21 22 23 24 25 26 27 28 29 30 31 32 33 | // These constants won't change. They're used to give names// to the pins used:const int LDR = A0; // Analog input pin that the potentiometer is attached toconst int verde = 9; // Analog output pin that the LED is attached toconst int rosso = 10; // Analog output pin that the LED is attached toconst int blu = 11; // Analog output pin that the LED is attached toint LDRValue = 0; // value read from the potvoid setup() {pinMode(verde, OUTPUT);pinMode(rosso, OUTPUT);pinMode(blu, OUTPUT);Serial.begin(9600);}void loop() {// read the analog in value:LDRValue = analogRead(LDR);if(LDRValue<=99){digitalWrite(verde, HIGH);digitalWrite(blu, LOW);digitalWrite(rosso, LOW);}if(LDRValue>=100 && LDRValue<=299){digitalWrite(rosso, HIGH);digitalWrite(verde, LOW);digitalWrite(blu, LOW);}if(LDRValue>=300){digitalWrite(blu, HIGH);digitalWrite(verde, LOW);digitalWrite(rosso, LOW);}// print the results to the serial monitor:Serial.print("sensor = ");Serial.println(LDRValue);// wait 2 milliseconds before the next loop// for the analog-to-digital converter to settle// after the last reading:delay(2);} |
Lecteur vidéo
00:00
00:00