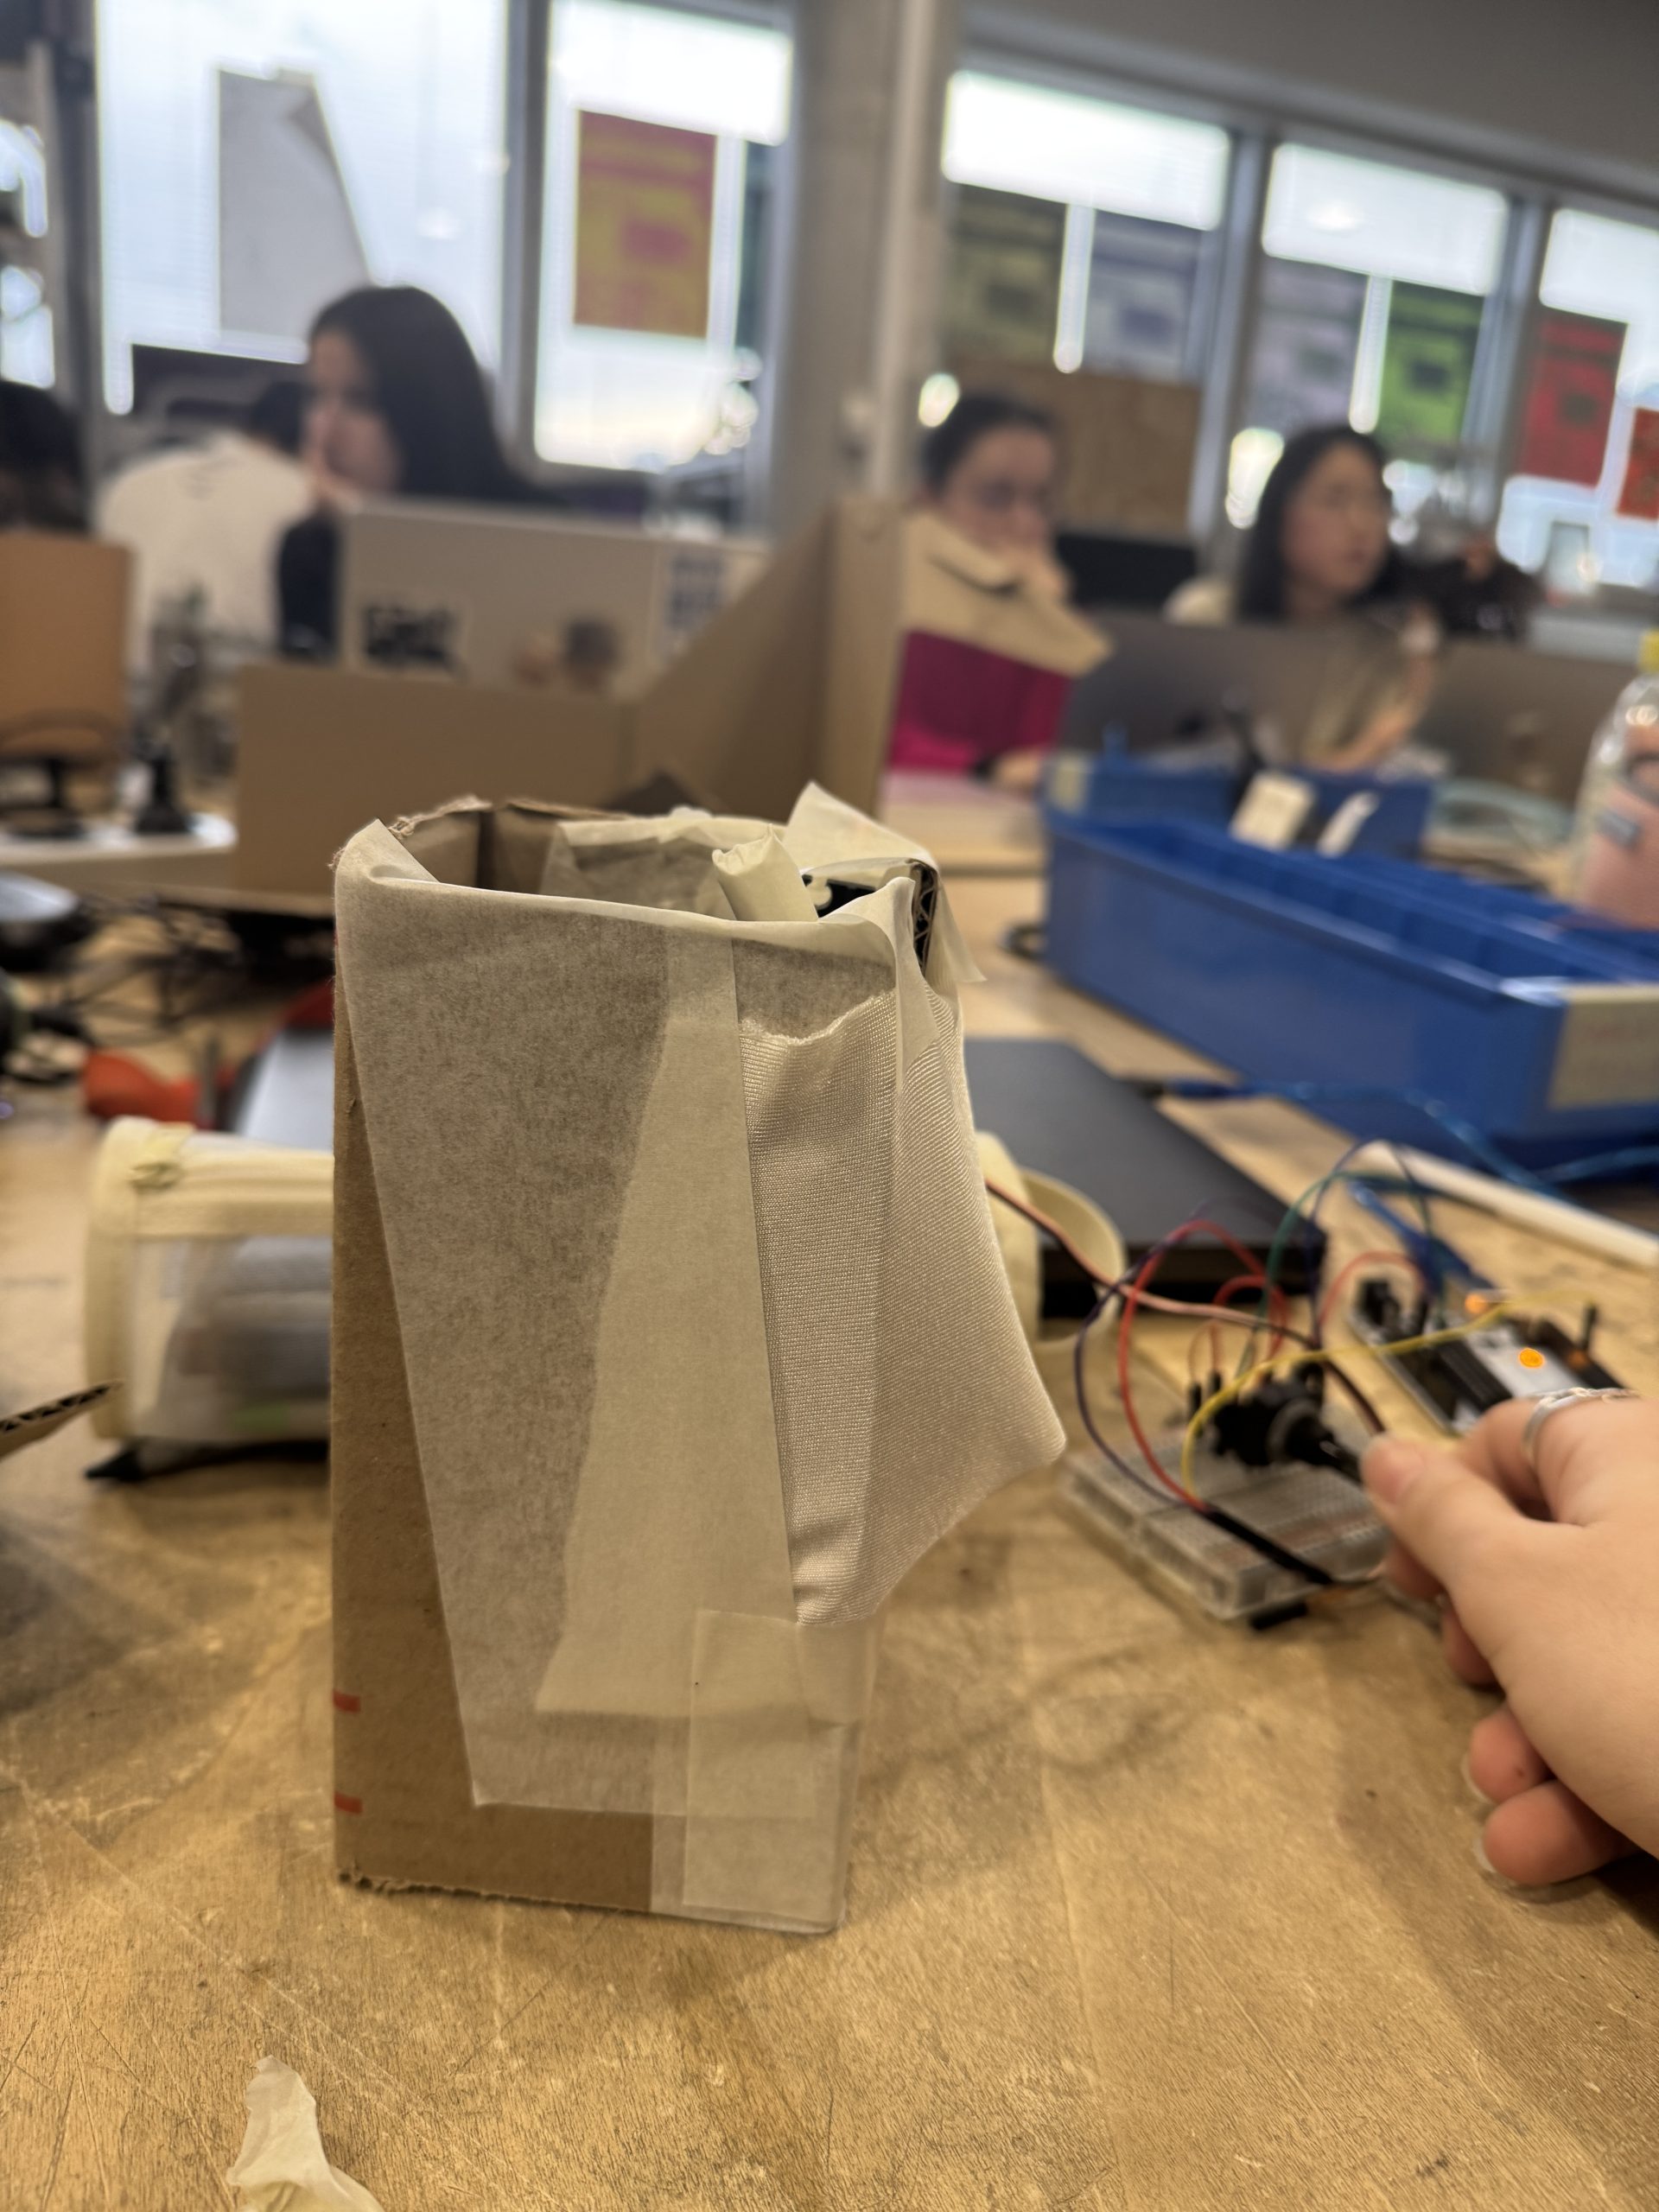
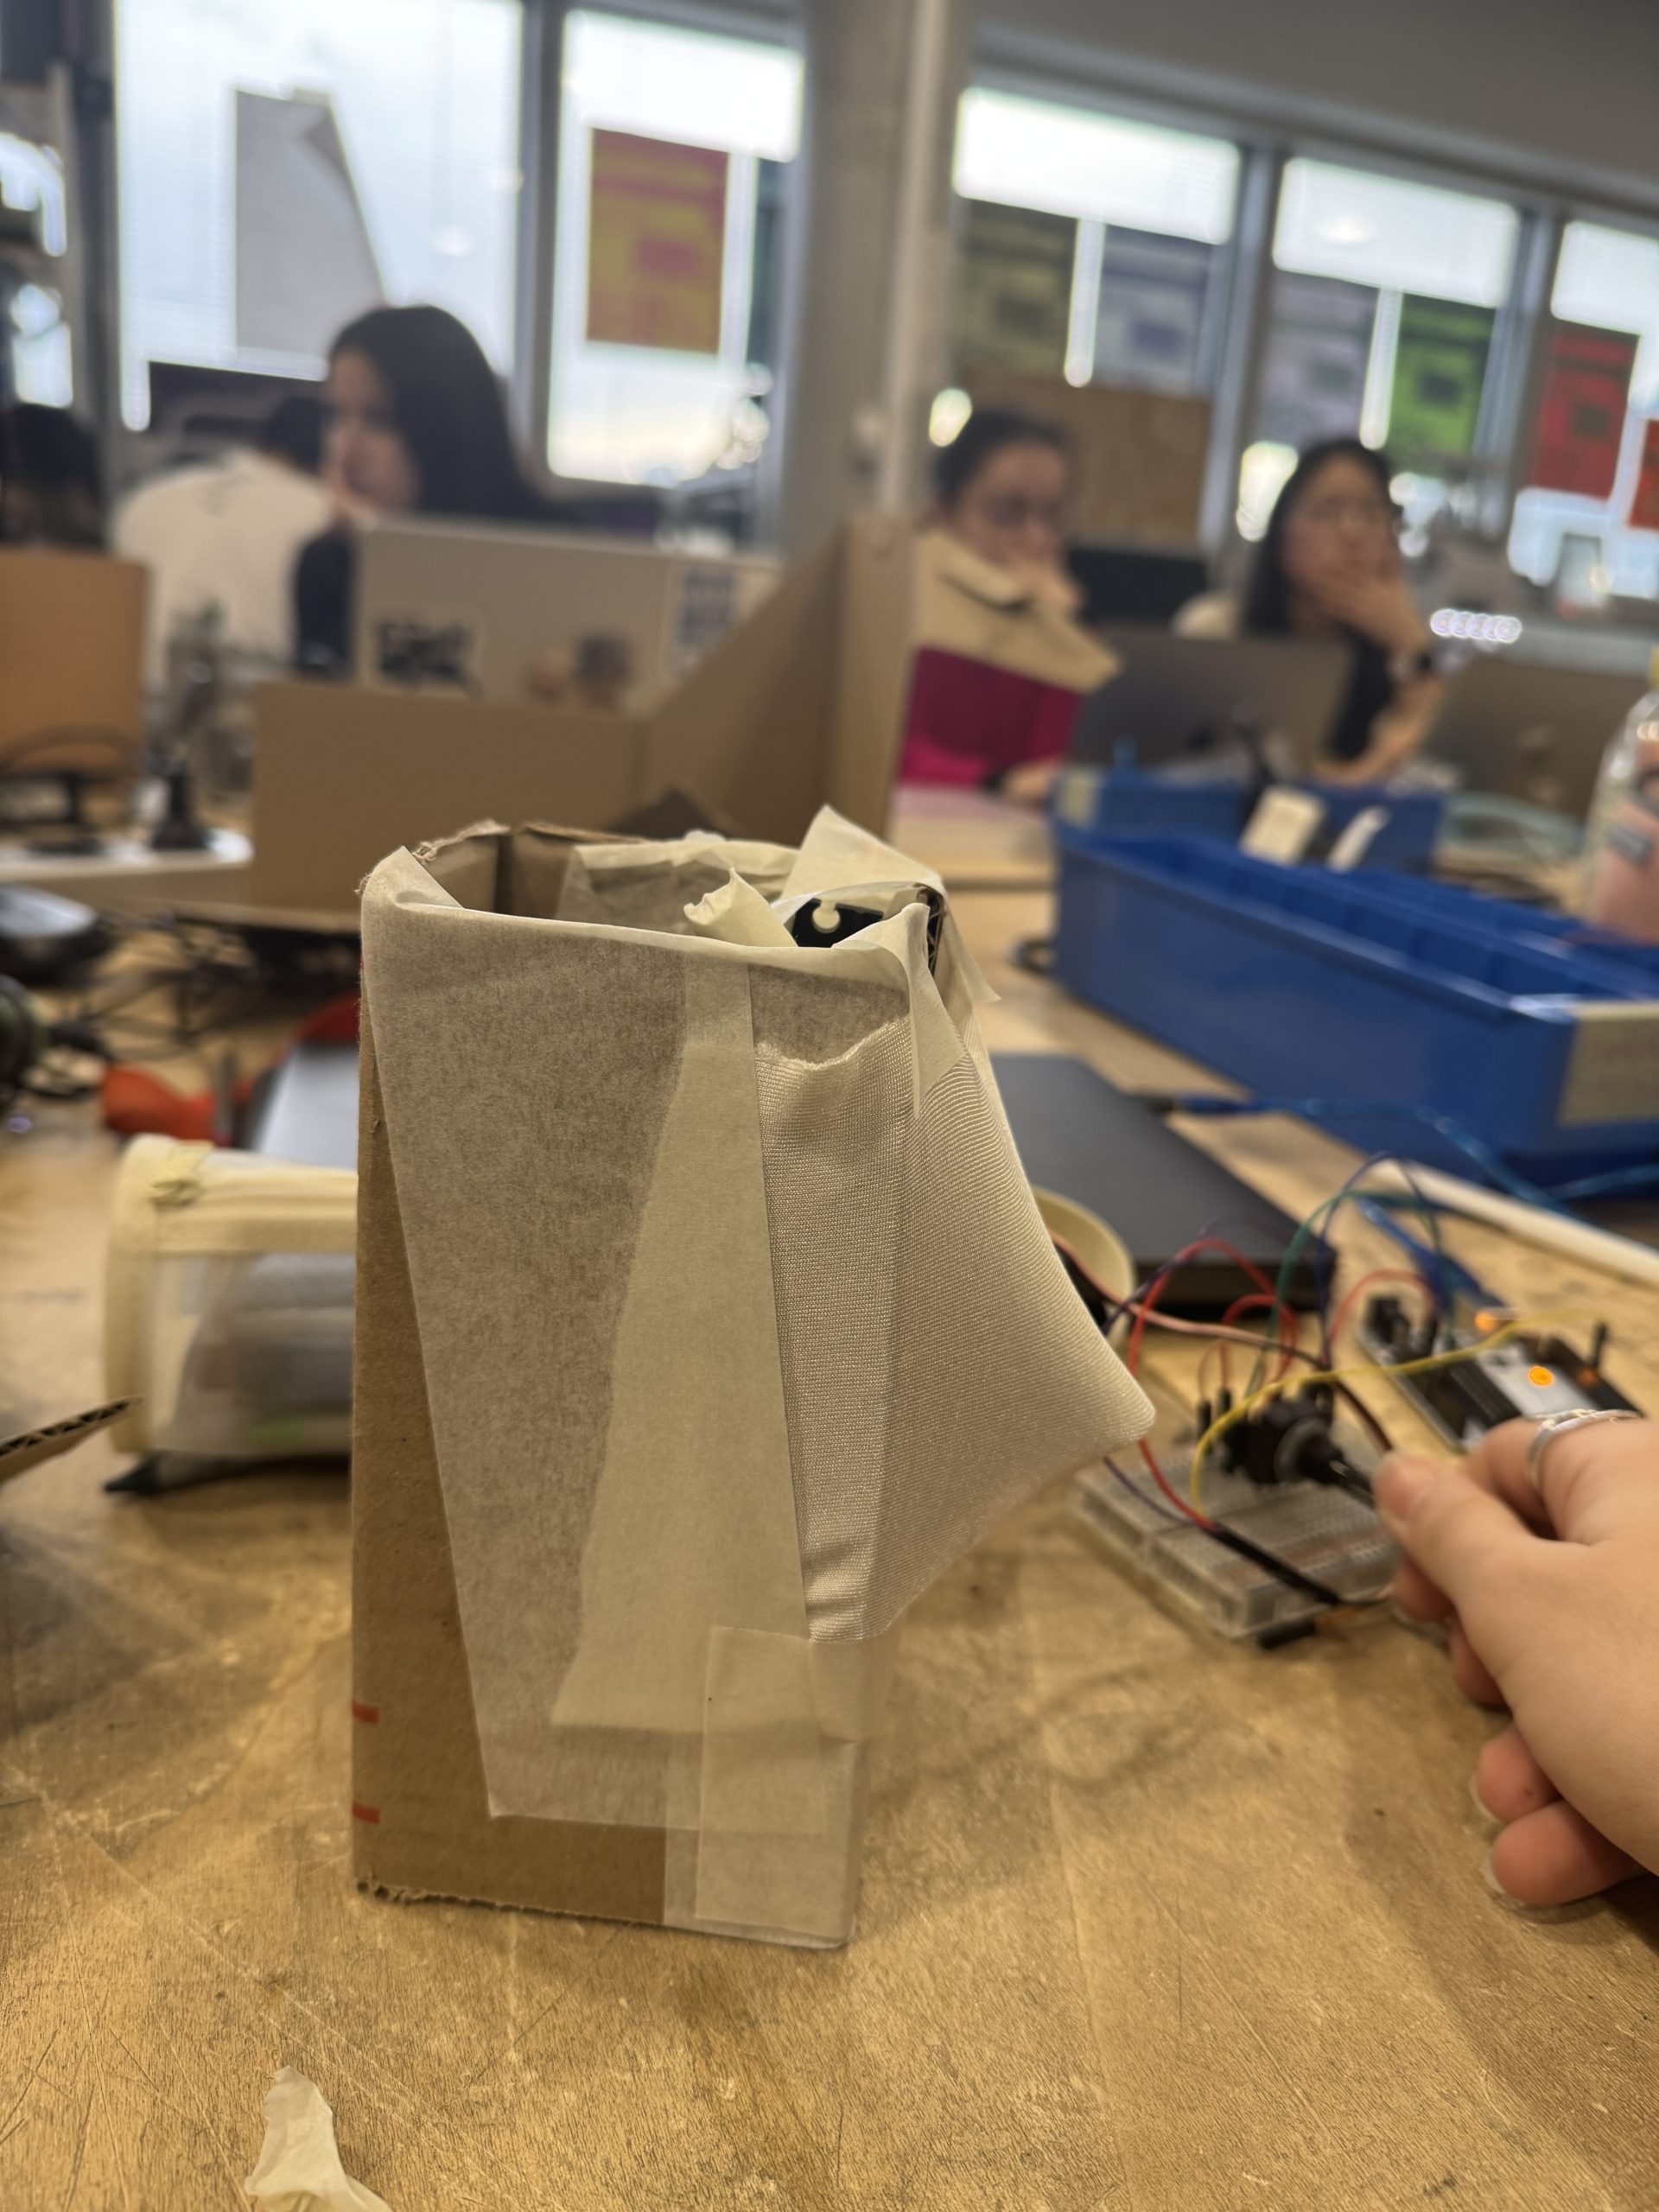
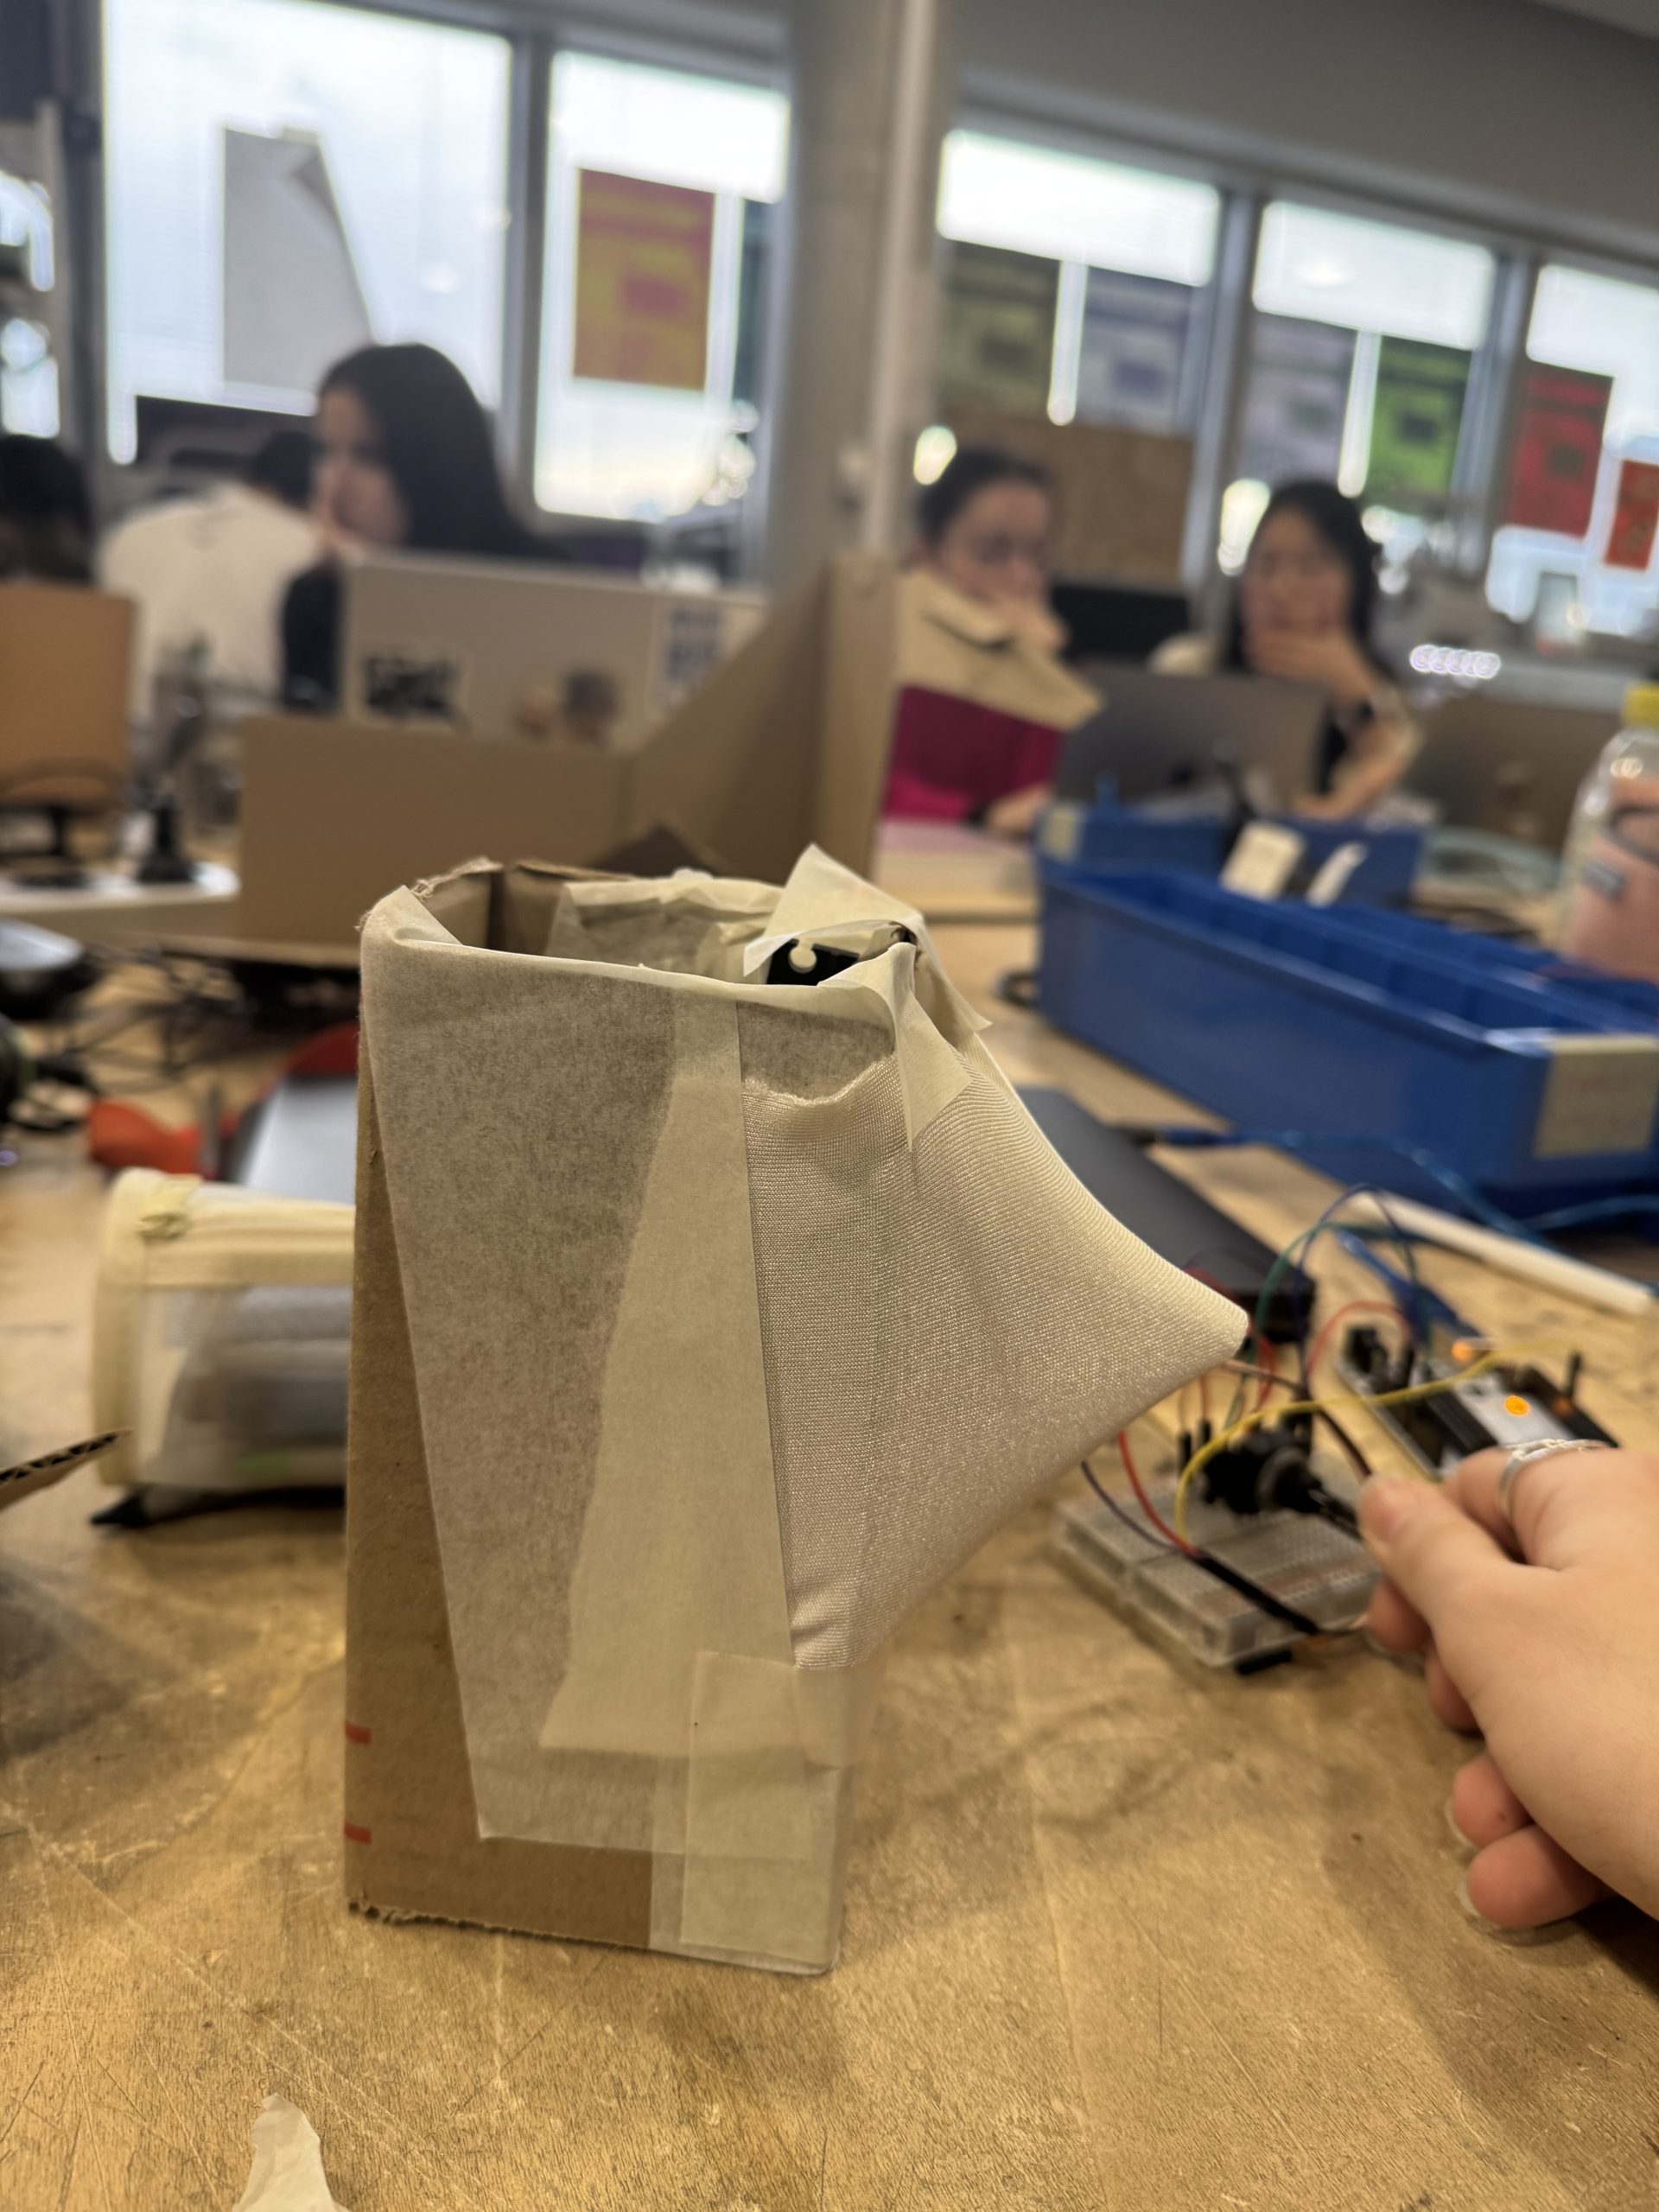
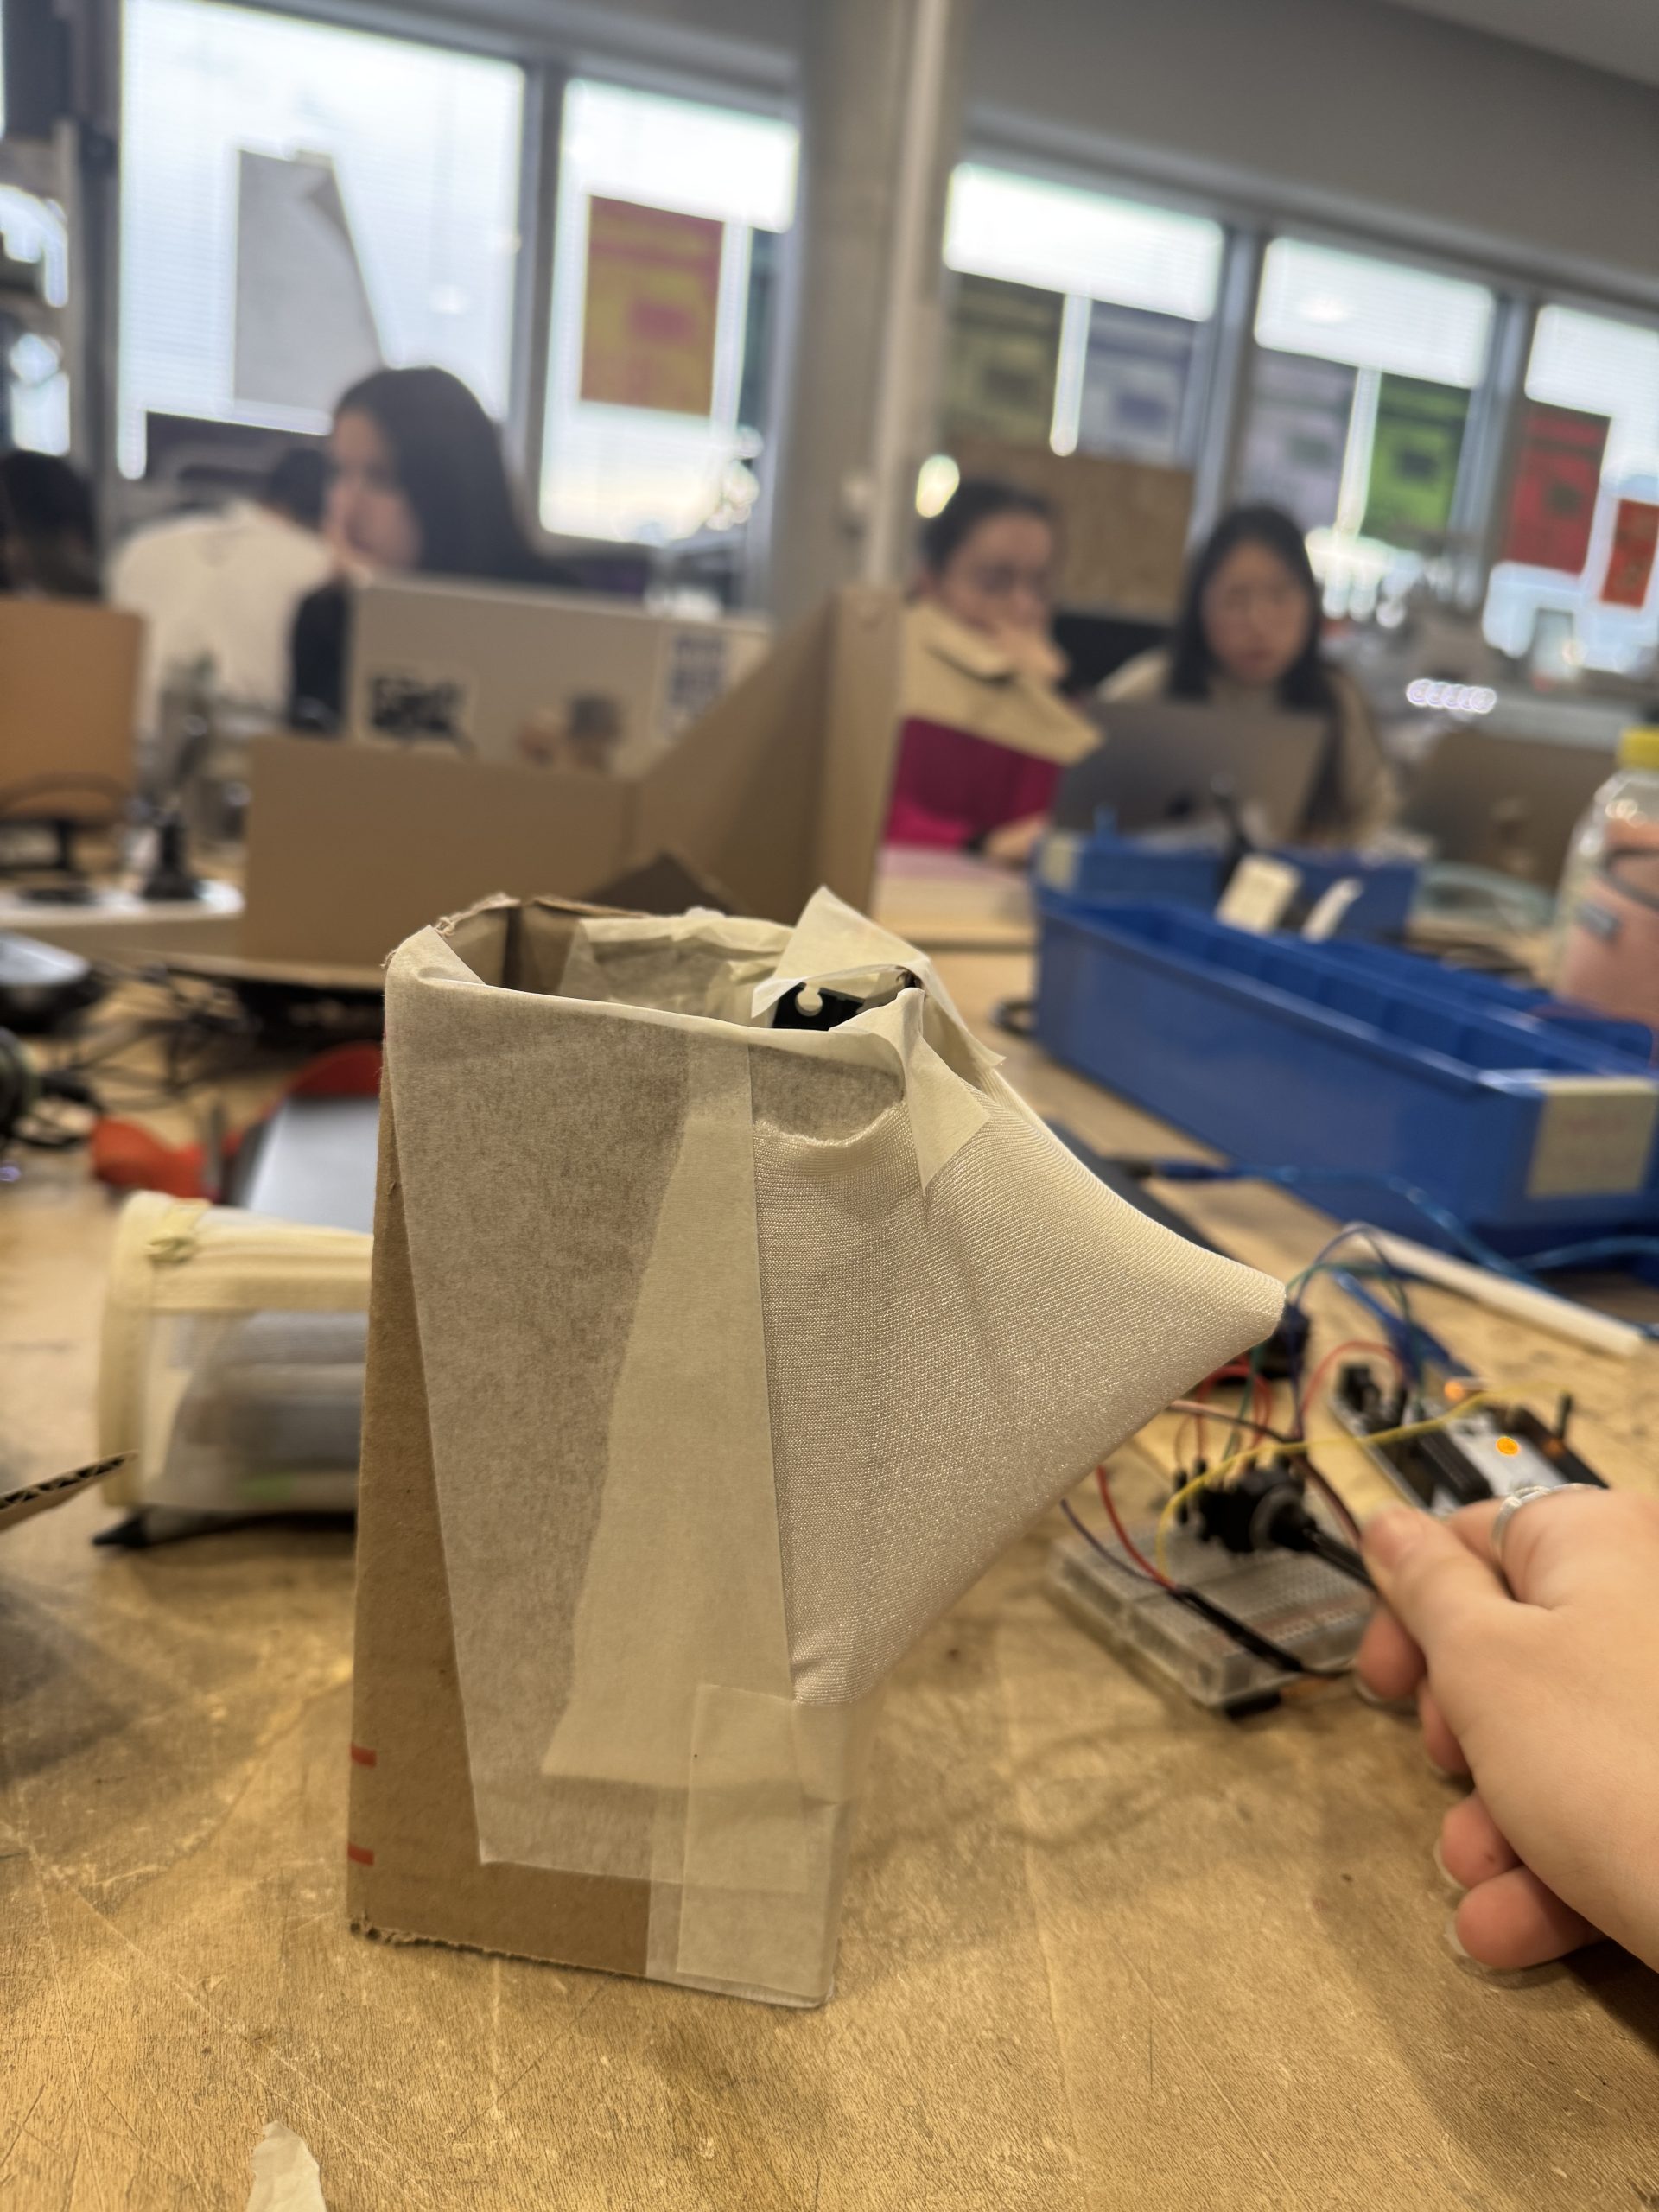
Utilisation de plusieurs servo-moteurs qui mettent en mouvement plusieurs battons. Les battons viennent strech le tissus Lycra qui couvrent toute la structure.
Les battons ont un mouvement rotatifs et sont directement connectés aux cervo-moteur.
Le code Arduino pour contrôler un servo moteur avec un potentiomètre:
/* Servo motor with Arduino example code. Position and sweep. More info: https://www.makerguides.com/ */
// Include the servo library:
#include « Servo.h »
// Create a new servo object:
Servo myservo;
// Define the servo pin:
#define servoPin 9
void setup() {
// Attach the Servo variable to a pin:
myservo.attach(servoPin);
}
void loop() {
// Sweep from 0 to 180 degrees:
for (int angle = 0; angle <= 90; angle += 1) {
myservo.write(angle);
delay(15);
}
// And back from 180 to 0 degrees:
for (int angle = 90; angle >= 0; angle -= 1) {
myservo.write(angle);
delay(15);
}
delay(1000);
}
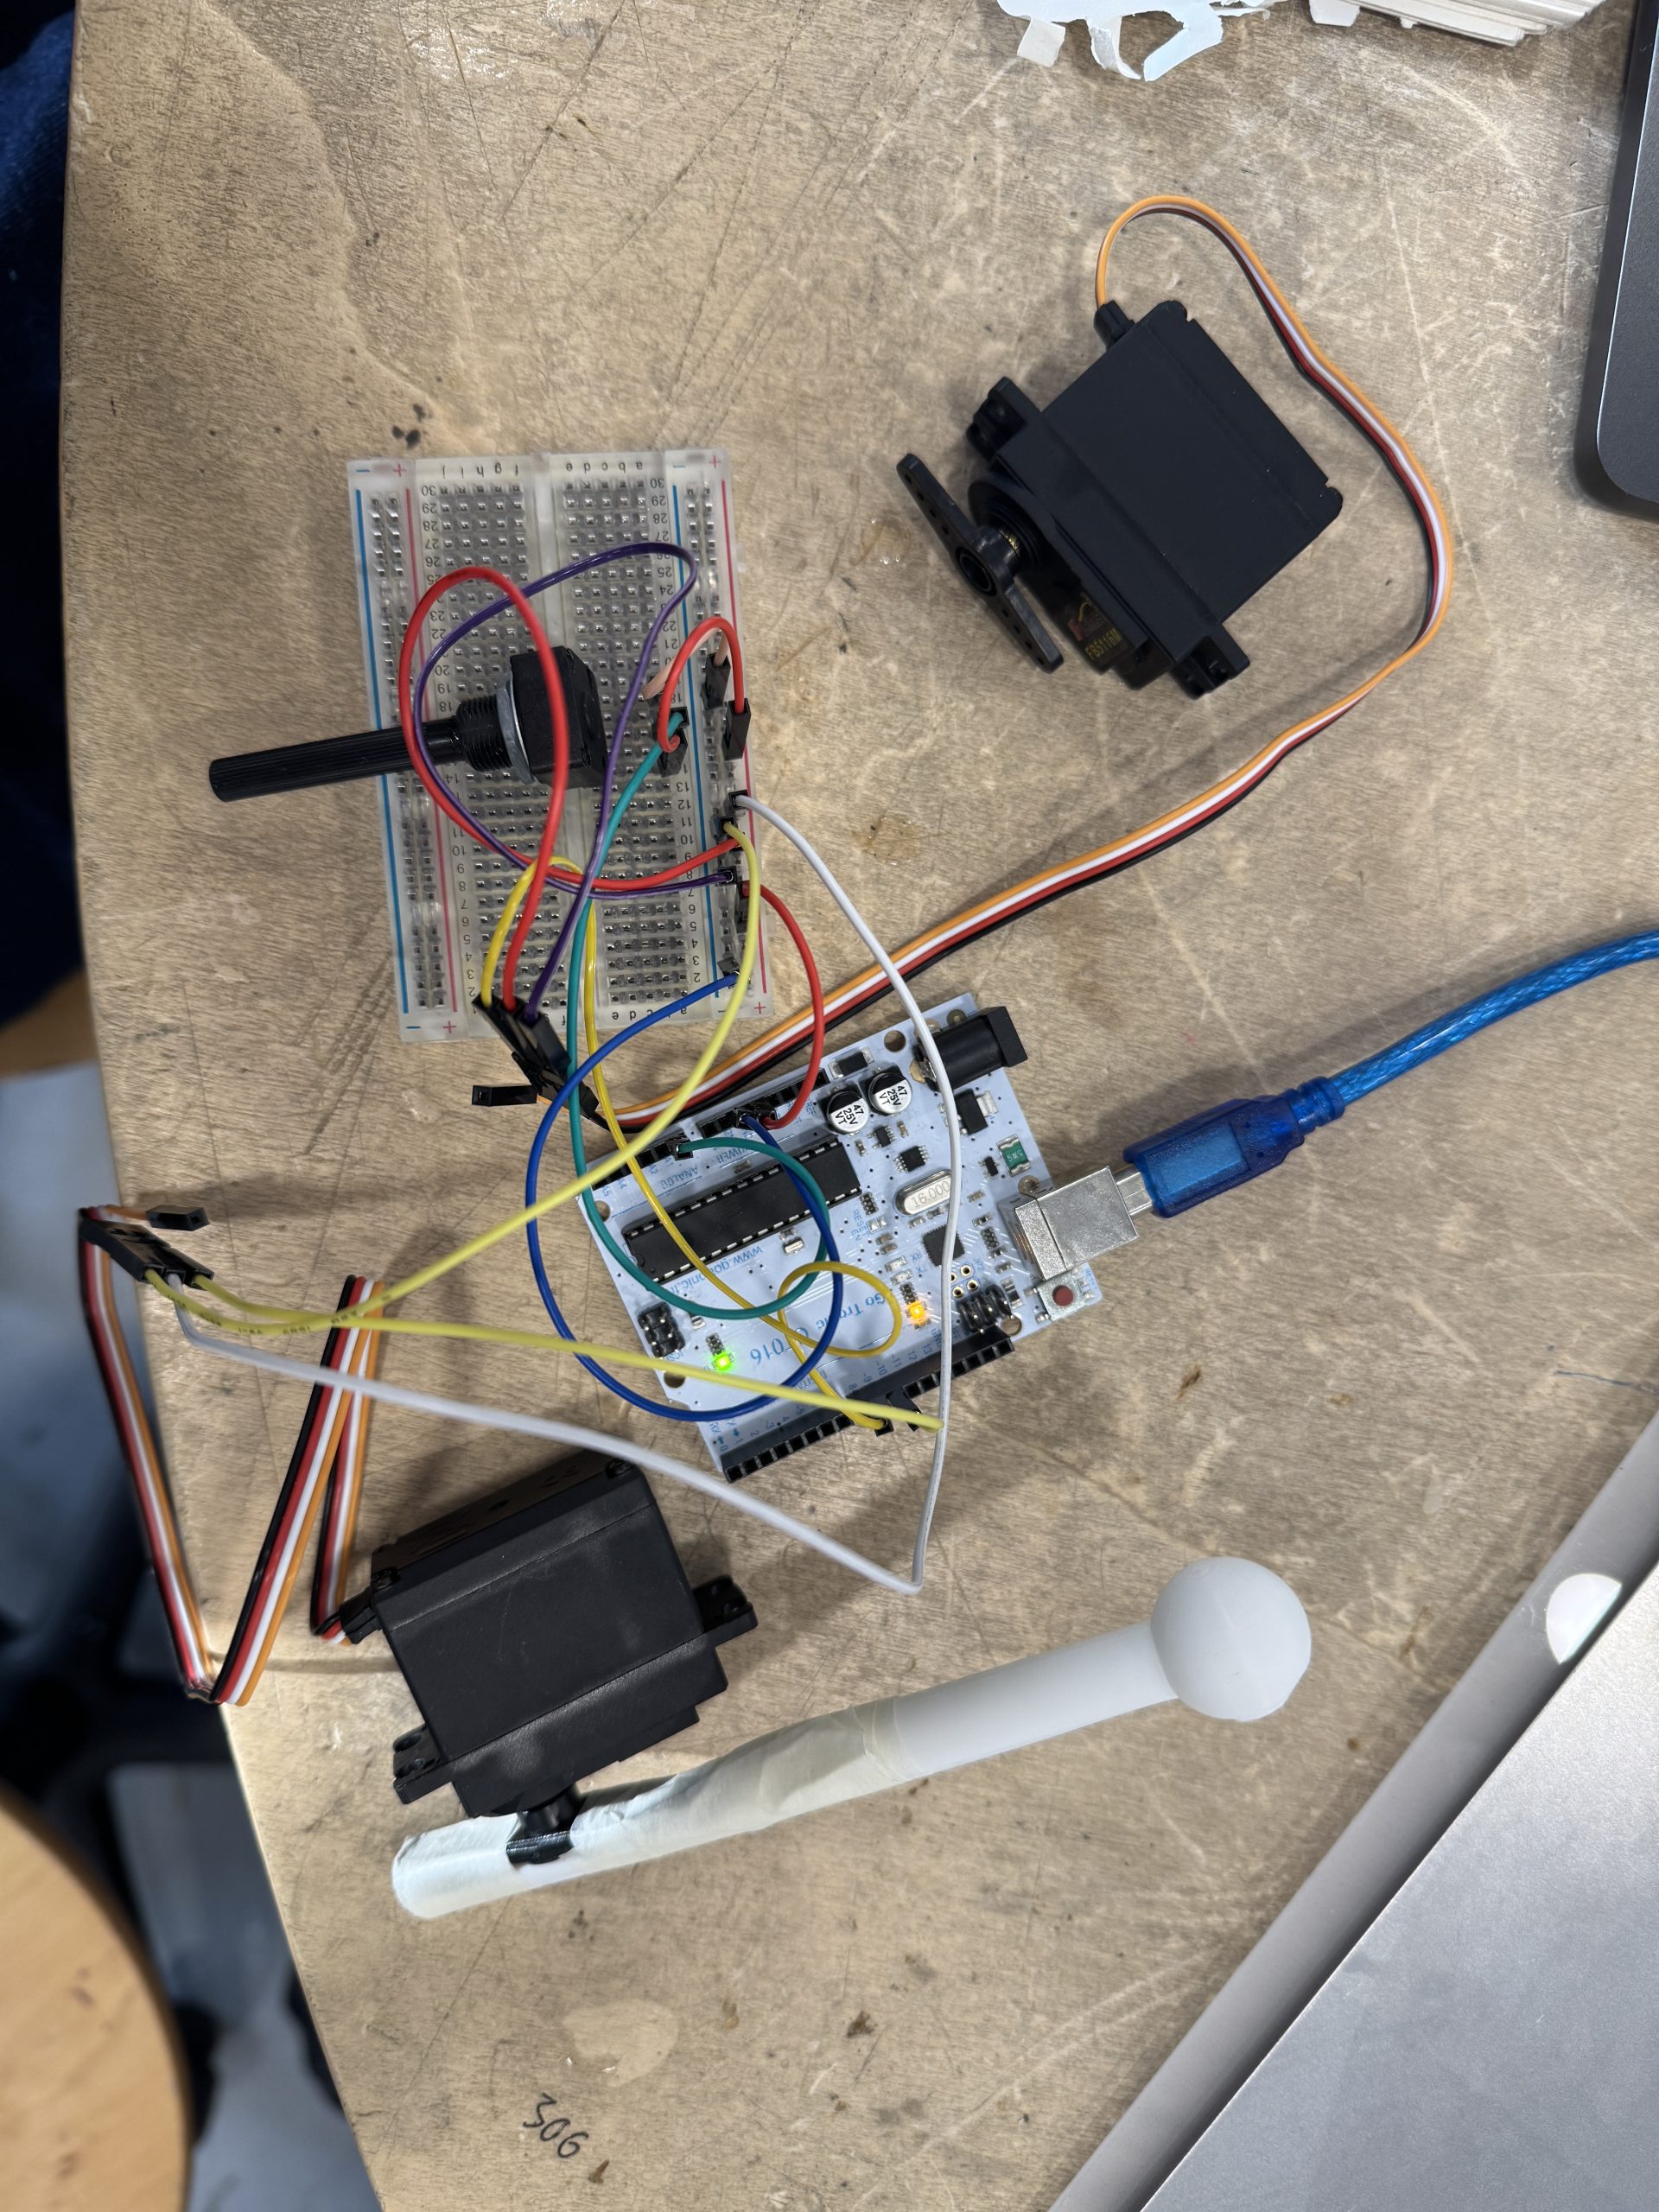
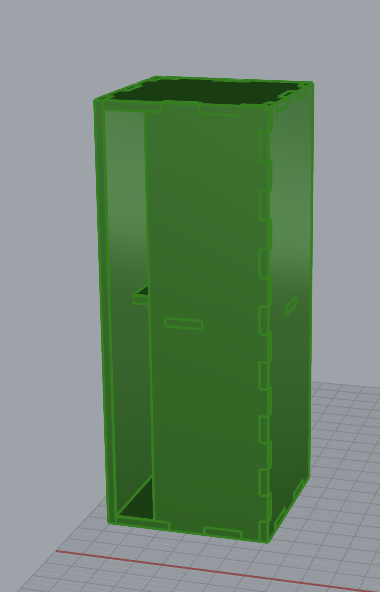
les 3D de baguettes prothèses aux servo-moteur:

première teste maquette:


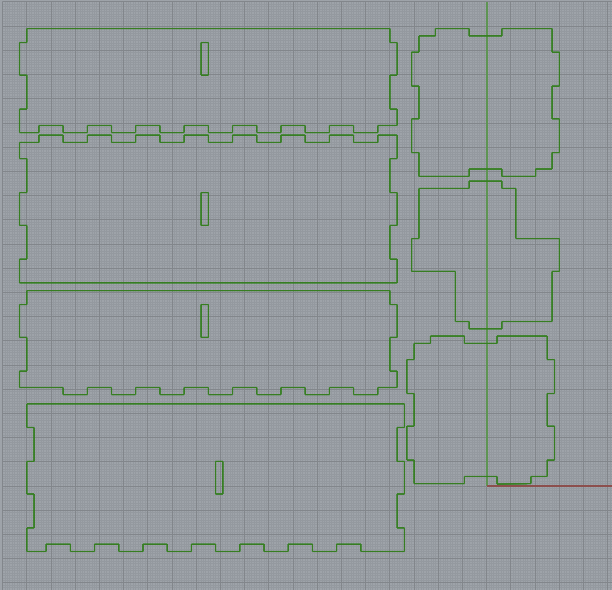
plan pour découpe lazer de la structure en plexi:
le code arduino pour contrôler deux servo-moteur avec un potentiomètre:
// Include the servo library:
#include « Servo.h »
// Create a new servo object:
Servo servo1;
Servo servo2;
int potar = A0;
// Define the servo pin:
#define servoPin1 9
#define servoPin2 10 // Servo 2 signal pin
void setup() {
// Attach the Servo variable to a pin:
servo1.attach(servoPin1);
servo2.attach(servoPin2);
Serial.begin(9600);
}
void loop() {
int potarValue = analogRead(potar);
int angleMotor = map(potarValue, 0, 1023, 0, 280);
servo1.write(angleMotor);
servo2.write(angleMotor);
Serial.print(potarValue);
Serial.print(« . « );
Serial.println(angleMotor);
delay(100);
}